to close
to close
It is often advantageous to use limit switches to set how far an actuator can go. It is possible to configure hardware using limit switches and Talons, so that the limit switch directly inputs to the Talon, but presented here is a software solution.
Connect the Signal and Ground pins from a DIO port to the COM (Common) and either NO (Normally Open) or NC (Normally Closed) terminals on a switch. In general choose the NO terminal as that makes the circuit on when the switch is pressed, and off when the switch is not pressed which makes the most since to most peoples’ brains. However, there are some cases when you would want to use the NC terminal. For example, in a security system the NC terminal would be preferred since if someone were to cut one of the wires, the circuit would break triggering the system (know there may be even better systems than that).
It may seem odd to use the Ground pin instead of the 5V pin on the roboRIO but behind the scenes the Signal wire voltage is being pulled high when not connected to anything. When the Signal and Ground wires connect, the Signal wire voltage is pulled low more firmly.
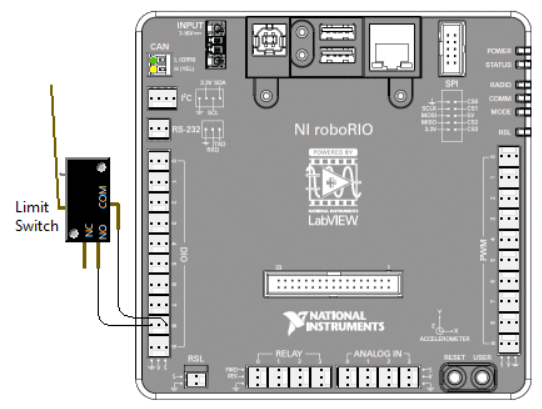
Image from the FRC Limit Switch example installed with LabVIEW for FRC.
For the sake of this tutorial, we will construct a VI that takes in the DevRef’s for each piece of hardware associated with this example, and performs the logic to set the motor. This will allow this VI to be used in Autonomous and/or Teleop, or if it needs to be run all the time, can be placed in Periodic Tasks.
Just a formality, but we will start by opening the necessary hardware in Begin.vi. For this example, we will use two limit switches, a joystick, and a motor.
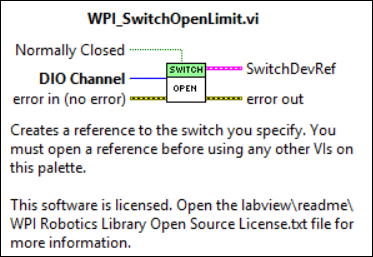
Notice the Normally Closed false constants connected to the Limit Switch Open VIs. They work similarly to the Invert constant on the Motor Open VI. If you find the switch reports true when you expect false and false when you expect true, change the value of the Normally Closed input for that switch.
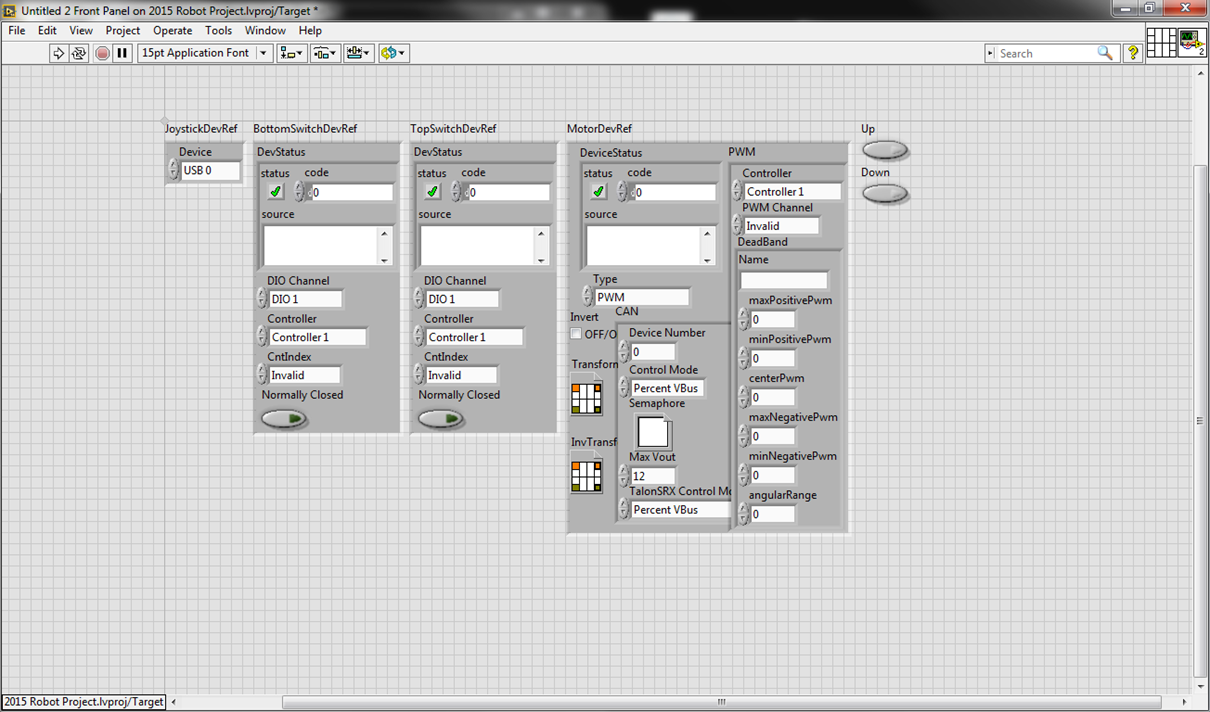
In this example, we are constructing a vi, that can be called frequently to set the values of the motor based on joystick input, and we will add front panel controls in to allow for running this VI in Autonomous and passing in constants to control the motor.
For an example on having a motor remain in a state until a new input, we will refer you to our State Machine Tutorial
We are assuming that the hardware has already been opened. To allow this VI to execute as quickly as possible, we will rely on the calling VI to provide the DevRef’s as opposed to Refnums.
Let’s start simple and use two buttons and some selects to set the motor.
Now, this is good, but we wanted the limit switches to turn off the motor at its limits, so let’s add that in. One way to do this is to use more selects such that when a limit switch is pressed, it allows the value to be anywhere within a range that is either stopped or goes the other way. Like below.
NOTE: If the Limit Switch Get VI reports true when you expect false and false when you expect true, you have a few options:
Ussually #2 is recomended since it is both quick and affects everywhere you get the value of that Switch.
At this point, the wiring is becoming a little chaotic, but we want to keep our constants so that this vi is generic and can be used year after year and by multiple teams, so we will switch to using multiple nested case structures.
This is good, we have the motor set by the joystick buttons and using the limit switch to not allow the motor to continue past the limit switches.
Now we want to add some Boolean controls in that will allow us to call this VI in Auto and ignore the joystick input.
Now we will go to the front panel and clean it up a little bit.
At this point, we just want to tidy up a bit by doing some alignments and fitting horizontally and vertically by aligning the tops of the clusters and one of the buttons, then a horizontal gap between them and finally the second button was aligned left and vertically compressed.
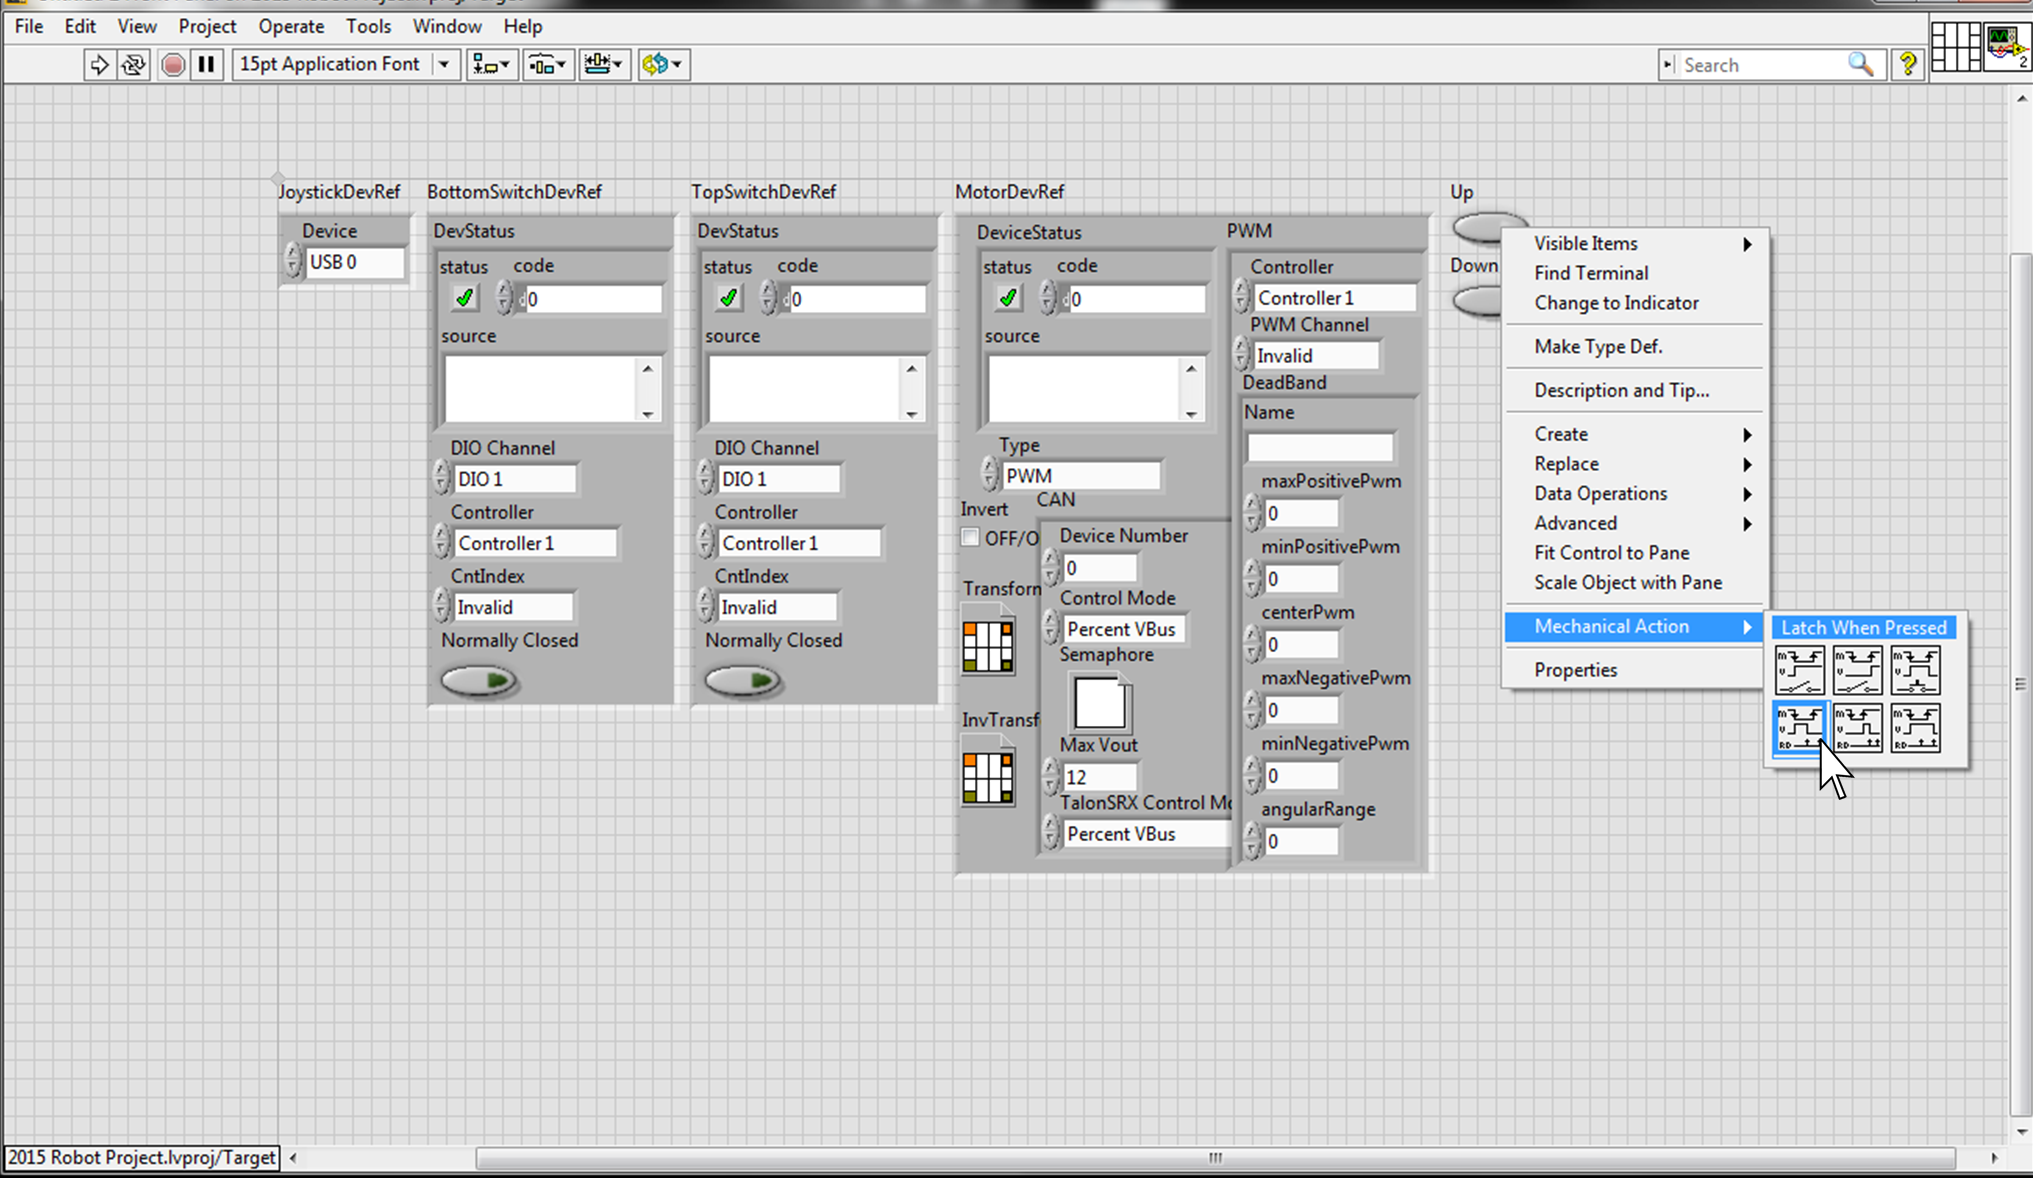
For this VI to truly be universal, we need to set the buttons to latch mode allowing the VI to be called once, setting them to true in autonomous, then called again without passing anything so it reads the joystick.
By convention, inputs are on the left so we wire the DevRef’s and buttons to terminals on the left.
1- Select appropriate Terminal,
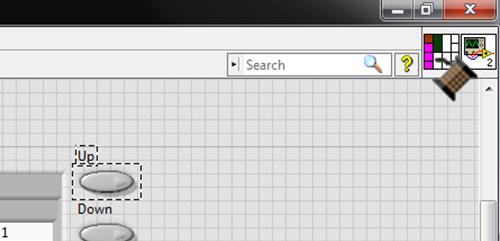
2 - Select Control or Indicator
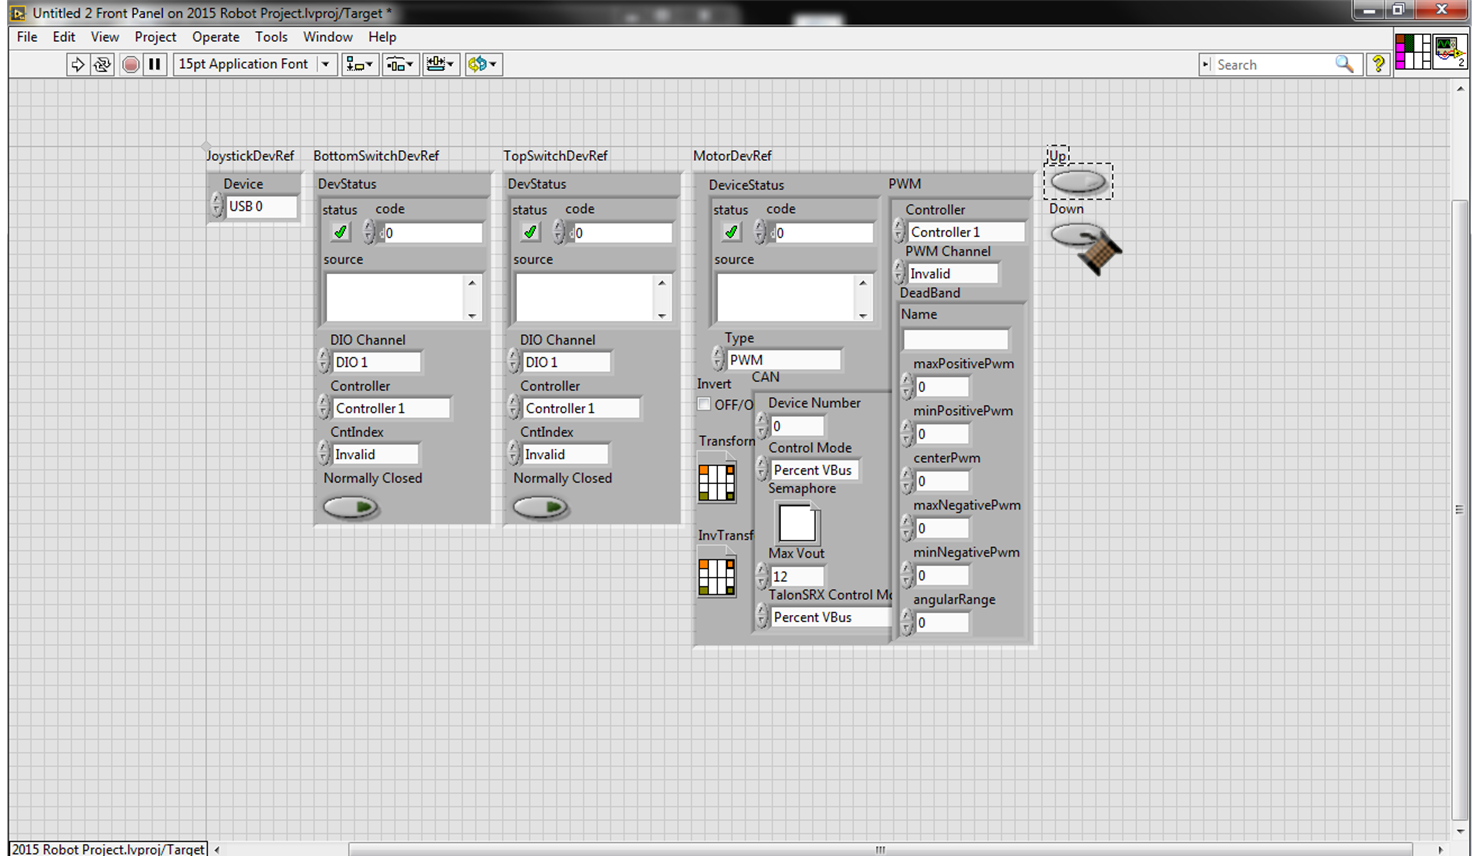
And with that, this vi is ready to be brought into the robot project and called to set the actuator motor from anywhere. - Auto, Teleop, or Timed Tasks.
click here to download finished version
One could configure this vi with memory so the motor continues on its path until it reaches a limit switch or the command is changed, please see our tutorial on state machines.
One could set the DevRef input terminals to required so that they cannot be left un-wired on accident.
One could configure it using Functional Global Variable architecture to open the devices itself on the first run, then remember the DevRefs
Google Form to request details