to close
to close
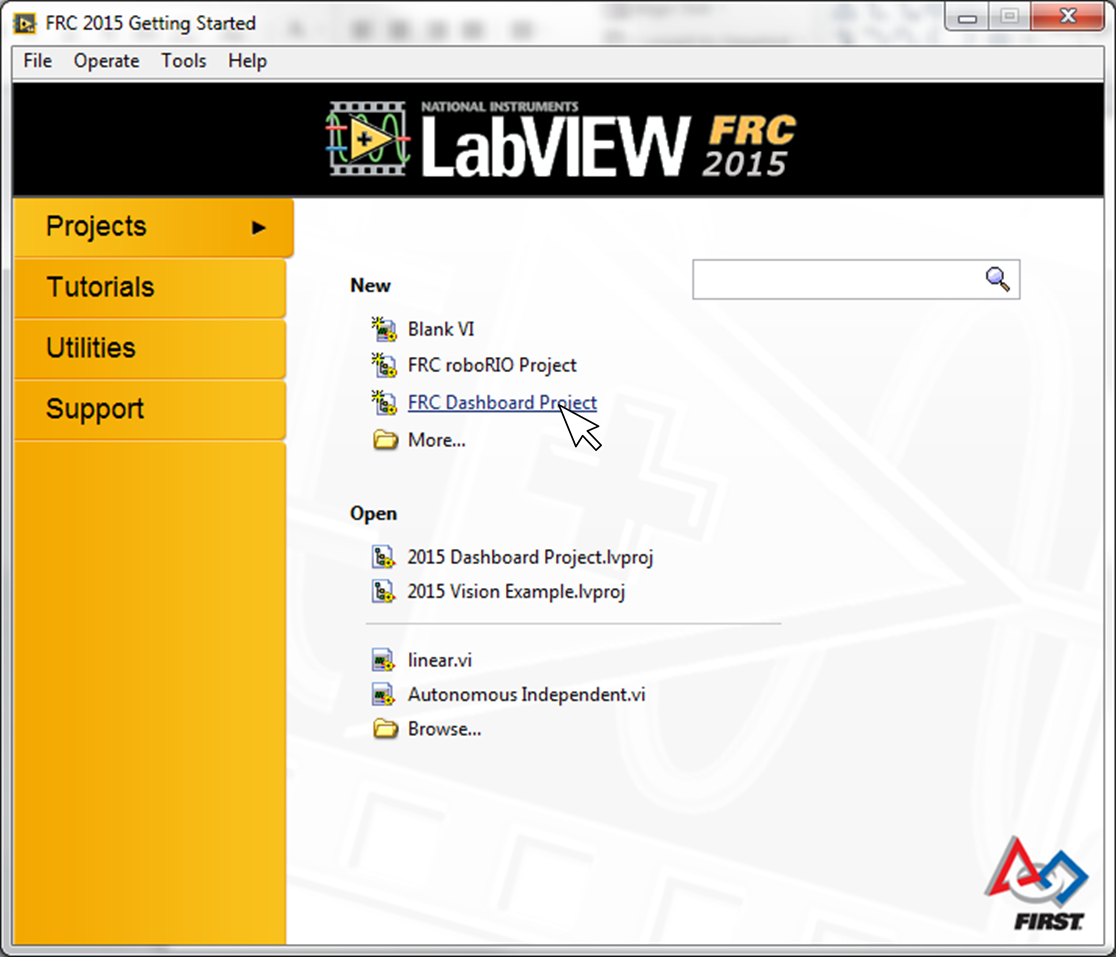
The default dashboard does not read anything, so the first step is to add a read into the dashboard code. To do this, open an FRC Dashboard Project.

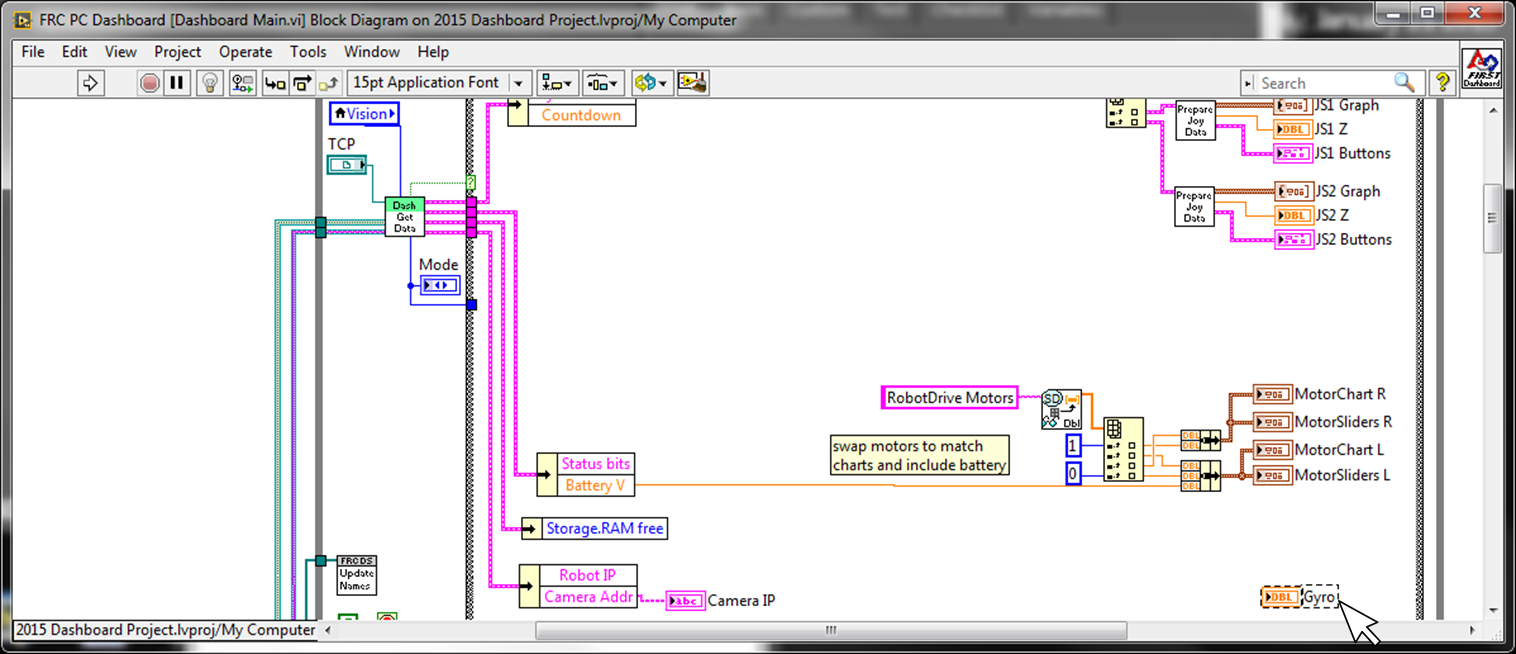
Open Dashboard Main.vi. If you right click on the Gyro indicator and select find terminal, LabVIEW will point you here.

Notice that there is nothing wired into it. To adjust this, use a dashboard read to get the gyro value that you will now send from either Teleop or timed tasks.
It should look something like this.
Save the vi, and build the executable in the project. When the build is complete, explore the build and note where it is (personally I put a shortcut to it on the desktop). Once that is complete, close out of that project and open your robot project.
At this point, you need to decide whether to put the update code in Teleop or timed tasks, personally I prefer to put it in Periodic Tasks, but some might say to put everything in Teleop and get rid of all the other parallel loops in the architecture. For this example, I will put it in Periodic Tasks, but to put it in Teleop only requires taking what is inside the loop presented here and putting it in Teleop.
To read the gyro and send it to the dashboard, could look something like this (notice: constantly doing the DevRef get is time consuming, consider putting that outside the loop and passing the resulting DevRef into the loop)
Finally, the gyro does need to be wired (There are plenty of documentation on that, like this one) and opened in the begin.vi like so.
Easiest way, open it, then open the Driver Station. The DS should recognize that a dashboard is already open and just work with it.
Inserting a division with remainder in between the gyro read and dashboard write so that it is divided by 360 and the remainder is written (this will make the gyro display on the dashboard always point the correct direction).
Also writing the value to a global variable to be read in Teleop or Autonomous and used.
Google Form to request details